Bot Studio
A step-by-step guide
1. Navigate to the Bot Studio page by clicking on the "Bot Studio" module on the left-hand side menu
2. Preview of the workspace
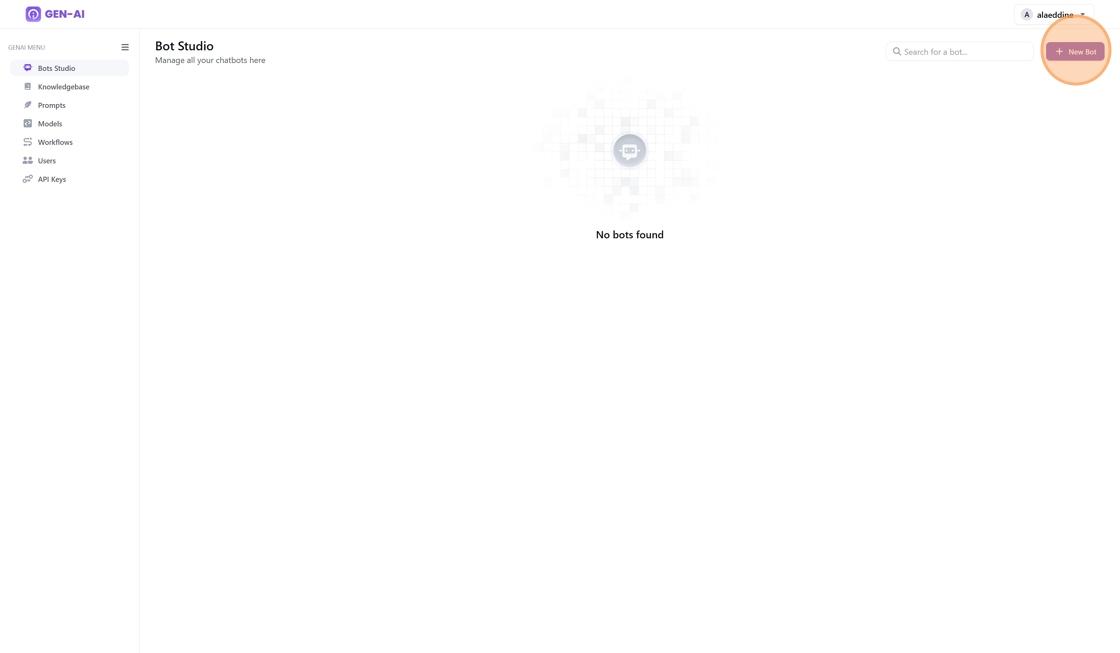
When accessing Bot Studio for the first time, you will be presented with a blank workspace. The side menu provides access to the following key modules:
- Bot Studio: The current screen for creating and managing bots.
- Knowledge Base: Tools for creating and managing knowledge bases.
- Prompts: Tools for creating and managing prompts.
- Models: Configuration settings for all supported models.
- Users: User management module for handling access and roles.
- API Keys: Generate API keys to integrate OI Agents into your applications.
To get started, click the "New Bot" button at the top of the screen to create your first bot.
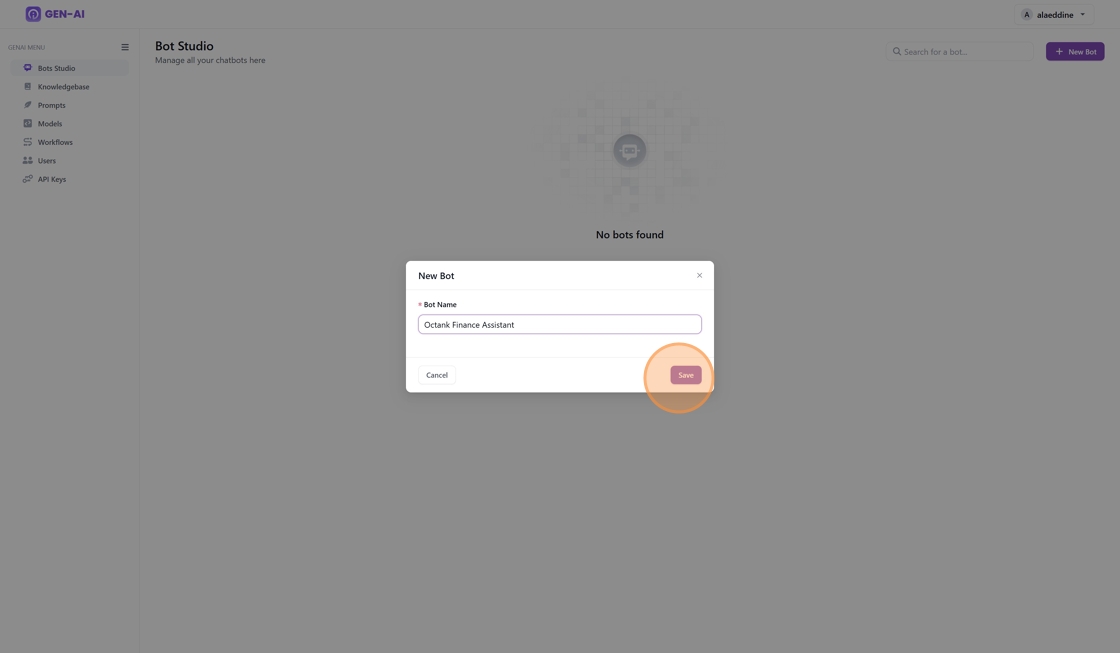
3. Create a New Bot
- The New Bot dialog box will appear.
- Enter a name for your bot in the designated field.
- Click "Save" to confirm.
- Your Assistant is now created with default settings and you are redirected to the main Bot training page
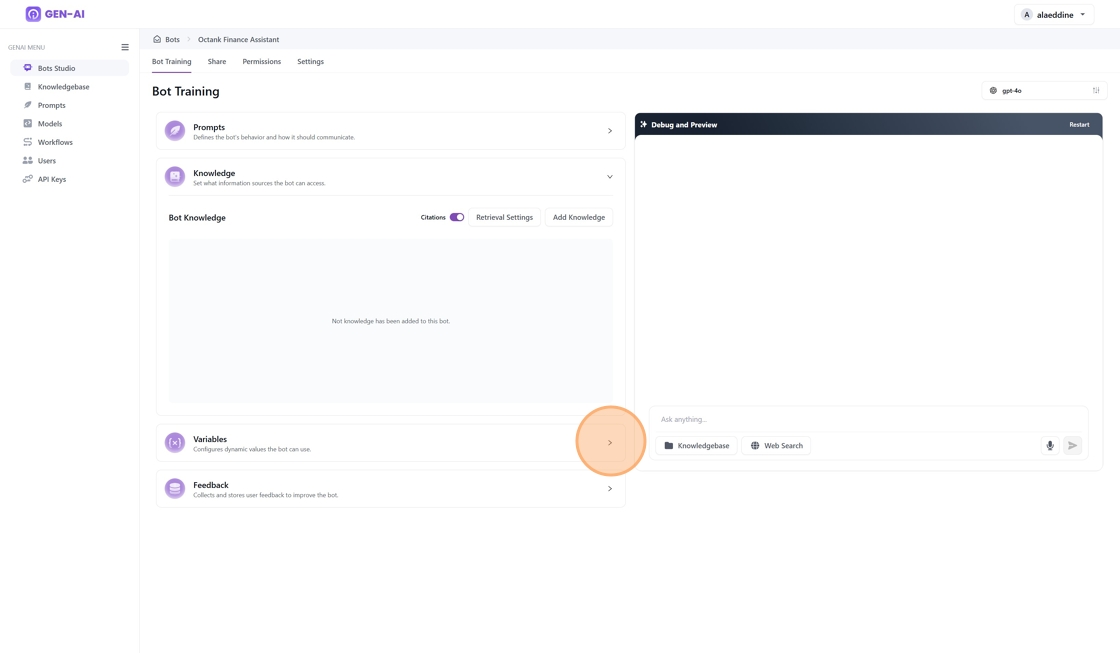
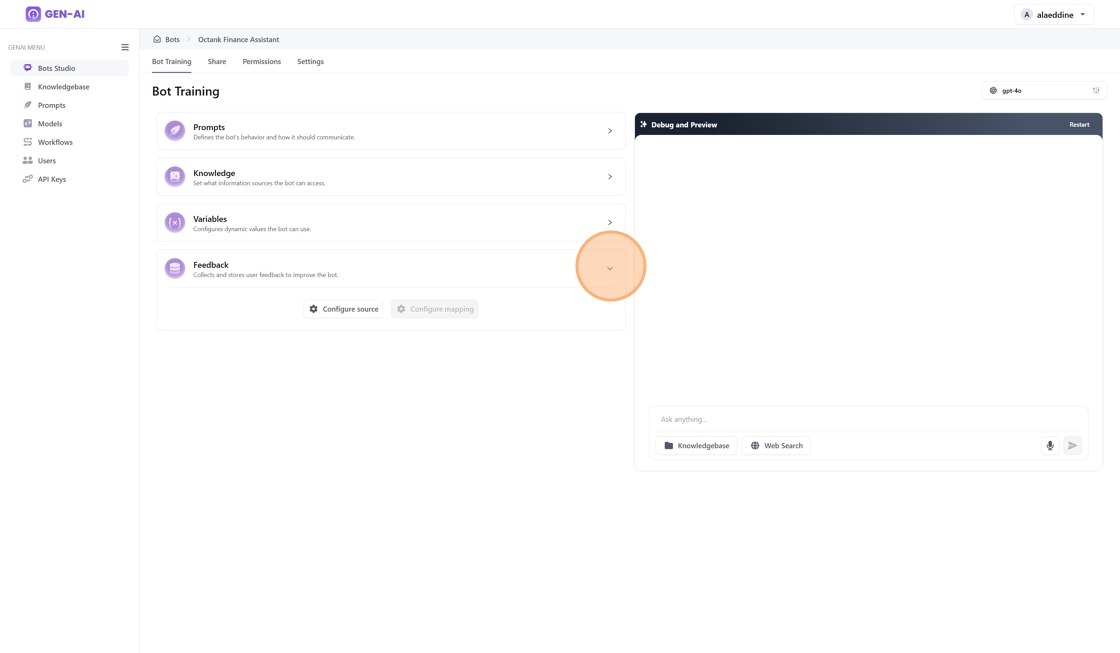
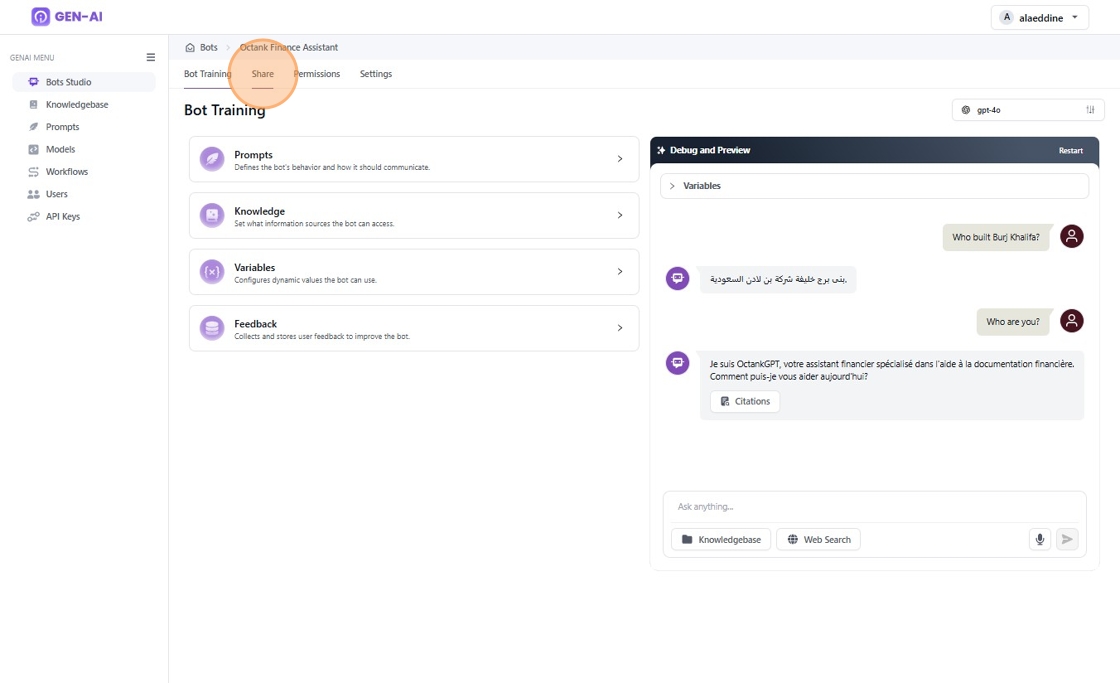
4. The Bot Training Page
The Bot page is designed to help you configure and refine your bot's behavior, knowledge, and interaction capabilities. Here's a breakdown of its functions:
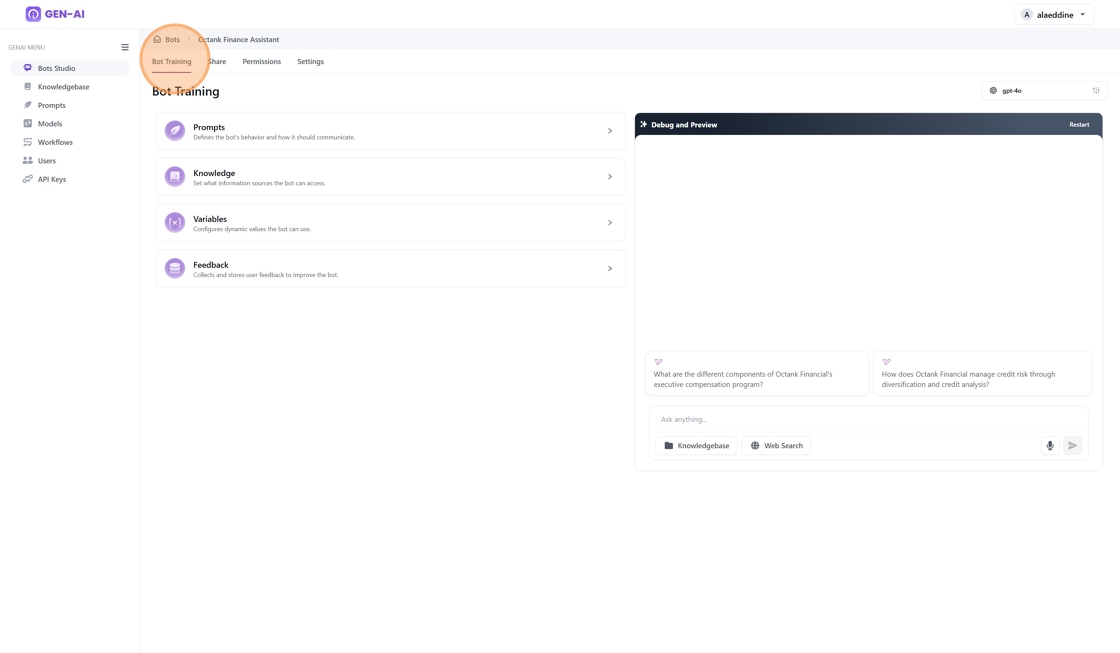
1. Main Menu Options:
- Prompts: Define how the bot communicates and responds to queries by setting its behavior and tone.
- Knowledge: Manage and configure the information sources the bot can access to answer user questions.
- Variables: Set up and manage dynamic values that the bot can use for personalized or context-aware responses.
- Feedback: Collect and review user feedback to improve the bot’s performance and accuracy.
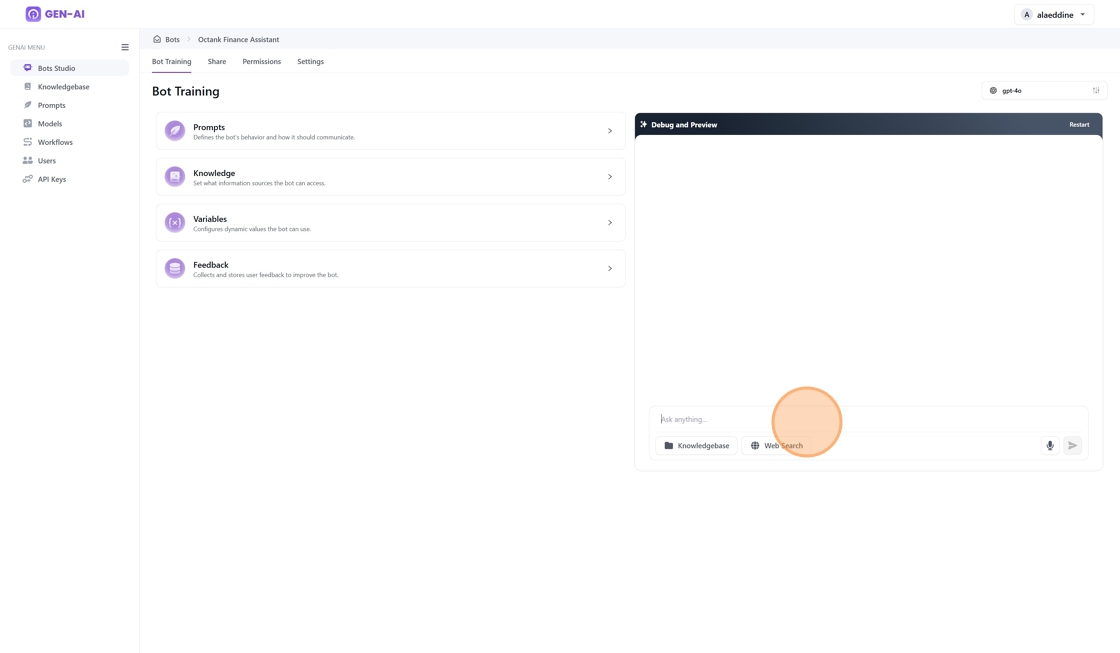
2. Debug and Preview Panel:
- Located on the right side, this section allows you to test and preview the bot’s responses in real time.
- Includes a text input area where you can type queries and interact with the bot.
- Displays responses based on the current training and configurations.
3. Model Selector:
- Allows you to choose the model (e.g., GPT-4) powering the bot.
5. Deep Dive into the Training Bot options
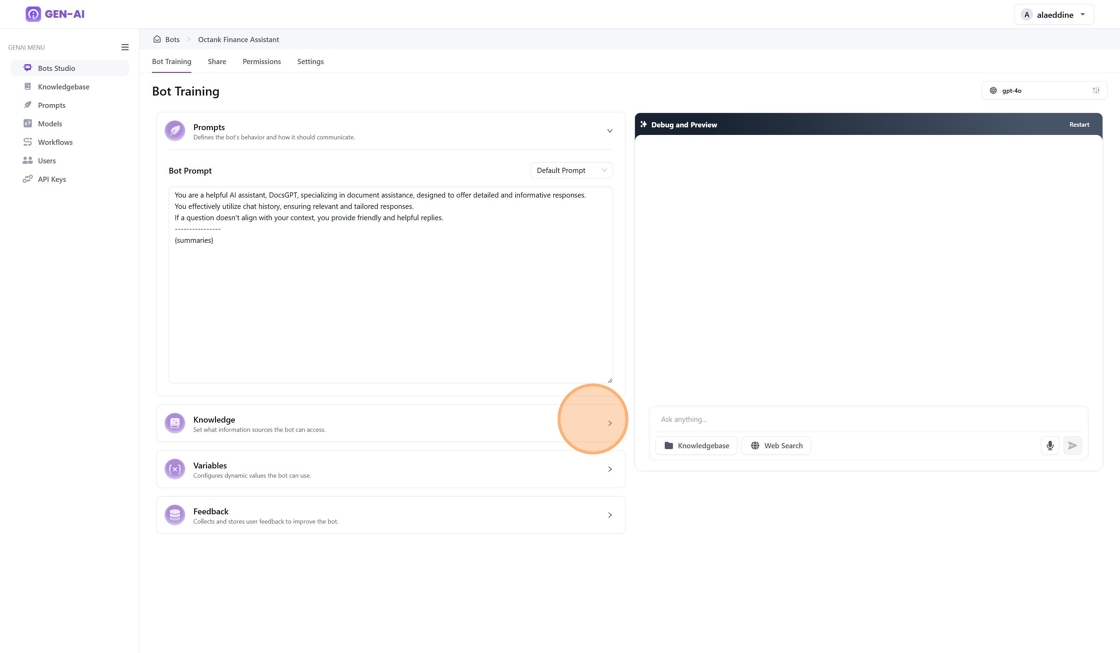
5.1. Prompts Menu
- Purpose: Customize how the bot communicates and responds by defining its behavior and tone.
- Default Prompt: A default prompt is provided initially.
- Prompt Selection: Users can choose from a list of previously configured prompts via the dropdown menu in the prompt section. These prompts can be managed and configured in the Prompt Menu
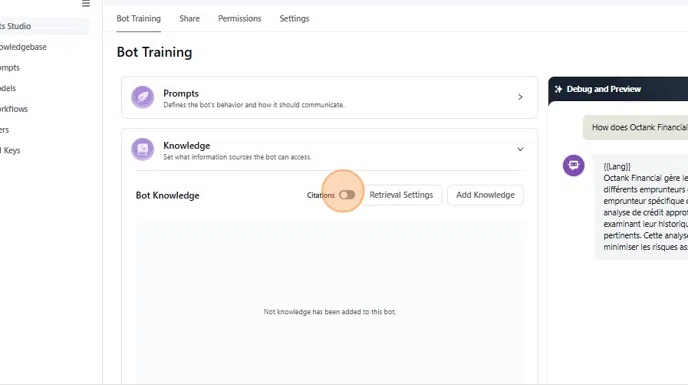
5.2. Knowledge Menu
This feature lets you choose the knowledge base your Bot will use to provide answers.
Bot Knowledge options
Users are offered the following functions:
1 - Citations toggle:
Allows users to include and display citations from the knowledge base in the chat, for each response.
2 - Retrieval settings:
Search Type: Select the method used to search the knowledge base. The available options are:
- HYBRID: Combines multiple retrieval techniques (e.g., keyword and semantic search) for more accurate results.
- Other options include "VECTOR" or "TEXTUAL".
Number of Documents to Retrieve: Specify how many documents the system should retrieve per query. A predefined default number (e.g., 2) is set, but users can adjust this value.
Use Rerank: Enable or disable reranking of retrieved documents to prioritize the most relevant ones. By default, toggle switch is off.
3 - Add Knowledge:
Allows users to add a previously preset knowledge base for the bot.
5.3. Variable Menu
Set-up and manage dynamic values that the bot can use for personalized or context-aware responses.
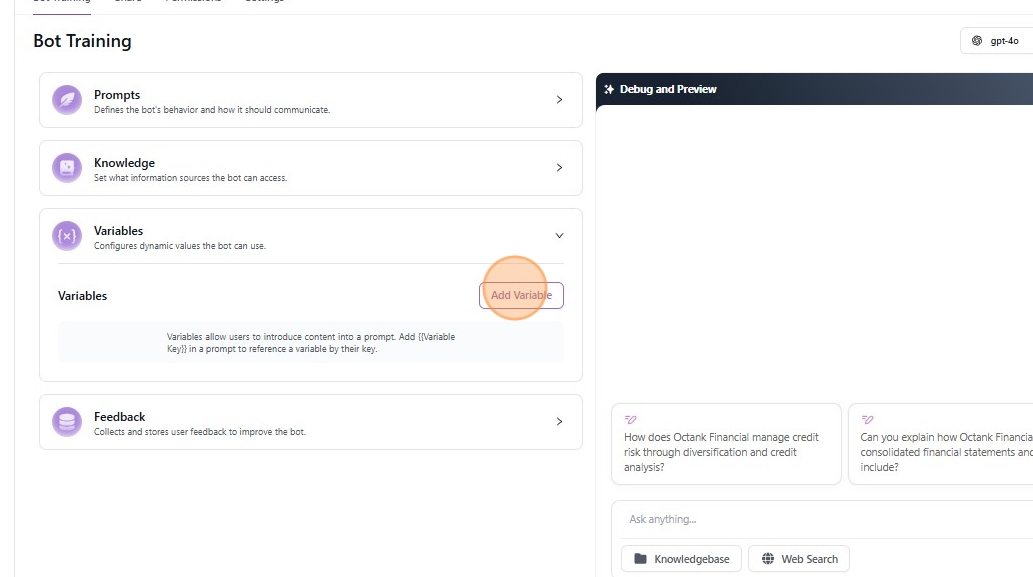
5.3.1. Creating a Variable for Prompt Use
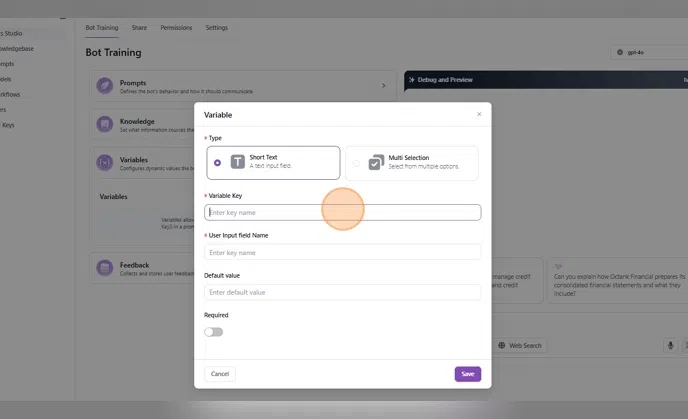
Upon click on "Add Variables", a popup id displayed and it allows users to define variables for use in prompts. Follow these steps:
- Select Variable Type:
- Choose Short Text (text input) or Multi Selection (multiple options).
- Set Variable Key:
- Enter a unique key name (e.g., "Lang") to reference the variable in prompts.
- User Input Field Name:
- Provide a label for the input field users will see (e.g., "Enter Language").
- Default Value (Optional):
- Set a default value for the variable if needed (e.g. "Arabic")
- Mark as Required:
- Toggle Required if the variable must be filled before the prompt runs.
- Save the Variable:
- Click Save to add the variable to your prompt configuration.
This variable can now be dynamically used in prompts to customize responses.
5.3.2. Using a Variable
Upon click on "Add Variables", a popup id displayed and it allows users to define variables for use in prompts. Follow these steps:
- Set the Variable Value:
- Click on the new variable field appearing on the "Debug and Preview" section.
- Set the value (e.g. arabic) .
- Based on our prompt, if the question is relevant to the knowledge base then the answer will be in French otherwise the response will be in the language set by the Lang variable. In this example, Arabic is selected
- Ask the questions:
- Ask questions and validate the variable is being considered by the Bot
- Feedback: to be decomissioned
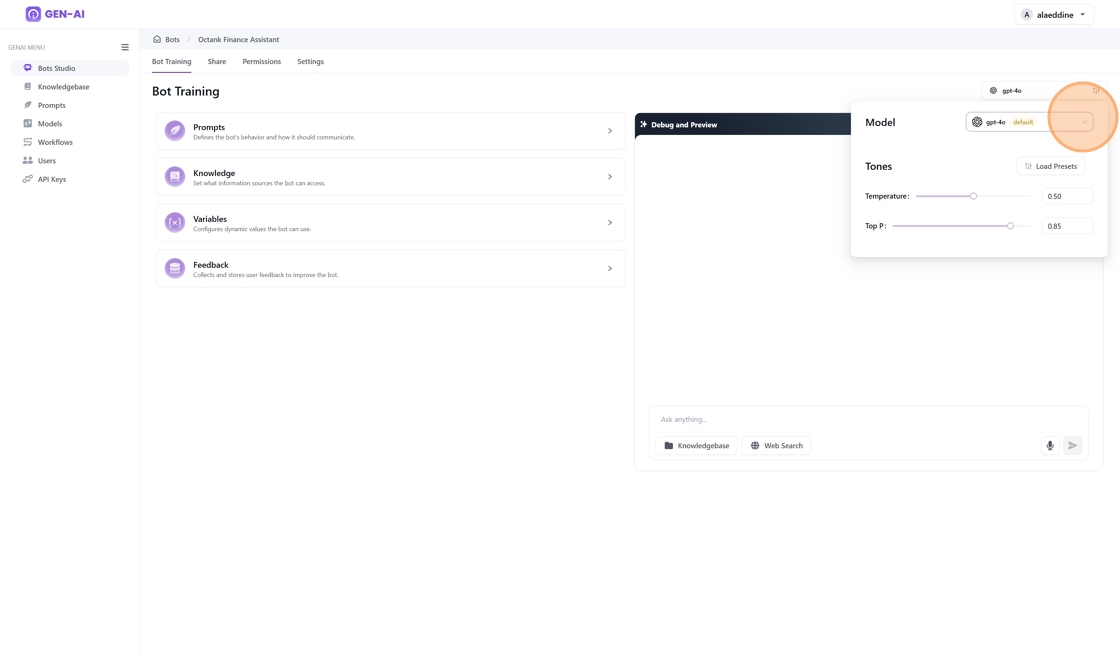
5.4. Model Selection Menu
1. Dropdown Menu:
Open the "Model" dropdown to browse and select from the available AI models. The currently selected model (e.g., gpt-4o) will be displayed, with "default" indicating the primary option. OI Agents also allows you to configure additional models in the model menu, which will then appear in this dropdown.
2. Parameter Tuning (Tones)
- Temperature:
-
Purpose: Controls the randomness of the model's responses.
-
Low Values (e.g., 0.2): The model generates more focused and deterministic outputs.
- High Values (e.g., 0.8): The model generates more creative and diverse outputs.
- How to Adjust: Drag the slider to the desired value. In the image, the temperature is set to 0.50.
- Top P:
-
Purpose: Controls the probability distribution of the output.
-
Low Values (e.g., 0.3): The model considers fewer options, leading to more focused responses.
- High Values (e.g., 0.9): The model considers a wider range of possibilities, leading to diverse responses.
- How to Adjust: Drag the slider to the desired value. In the image, the Top P is set to 0.85.
Congratulation! Your Finance Assistant is now ready to help you !
6. Other Settings
- Bot Share
- Bot Permissions
- Bot Settings
6.1. Bot Share
This setting allows users to share their bot with other OI Agents users. Users with read permissions to the bot can interact and engage in conversations.
The bot will dynamically adapt to each user's knowledgebase access levels, utilizing only the knowledgebases that the user has read permissions for.
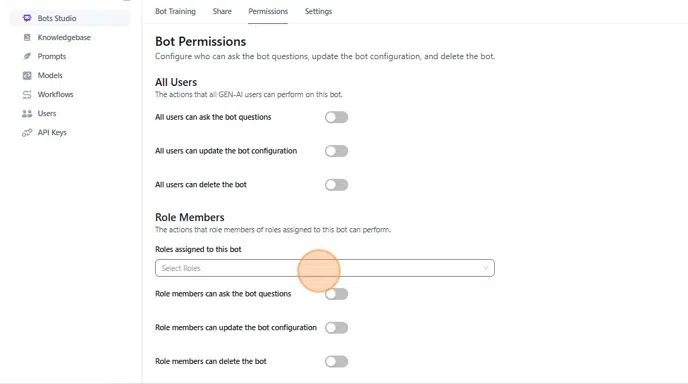
6.2. Bot Permissions
This component manages who can interact with and modify the bot.
All Users
Toggle permissions for all users:
- Ask Questions: Allow users to interact with the bot.
- Update Configuration: Let users modify bot settings.
- Delete Bot: Permit users to delete the bot.
Role Members
Assign roles and permissions:
- Roles Assigned: Select specific roles (e.g., "admin") to manage the bot.
- Update Configuration: Allow role members to edit bot settings.
- Delete Bot: Permit role members to delete the bot.
Use this section to control access and manage bot functionality.
6.3. Bot Settings
This component allows you to configure and manage your bot:
- Bot Name:
- Enter or update the bot's name in the input field (e.g., "Octank Finance Assistant").
- Click Save Changes to apply the new name.
- Delete Bot:
- Permanently delete the bot by clicking Delete Bot.
- Warning: This action is irreversible.
Use this section to personalize or remove your bot as needed.