Knowledgebase
Knowledge Base Management
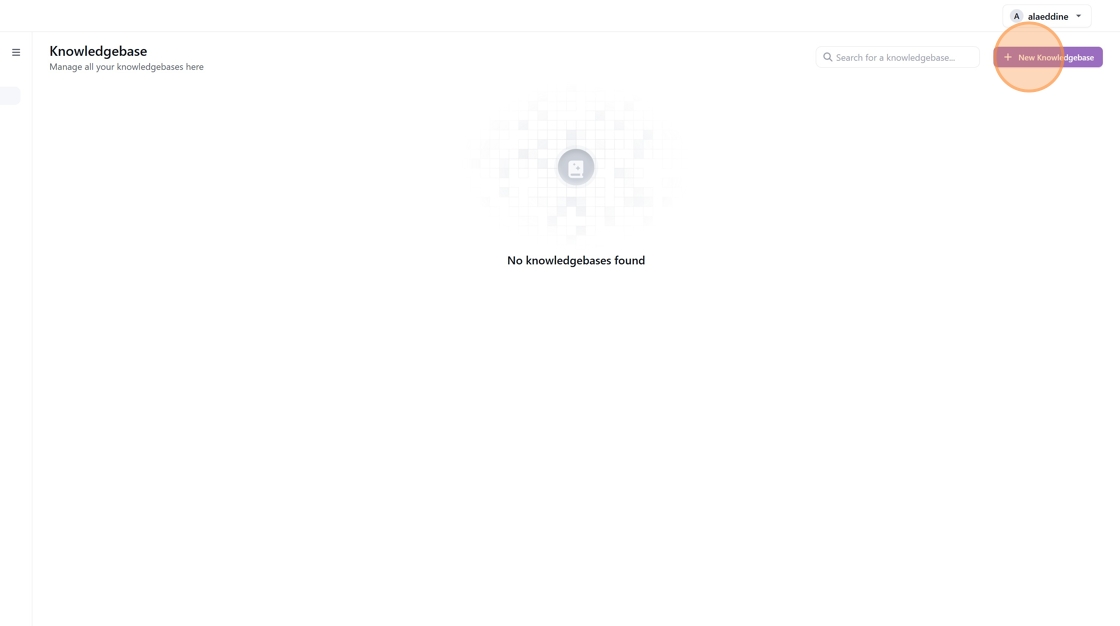
1. Navigate to the Knowledgebases page by clicking on the "Knowledge Base" module on the left-hand side menu
2. Start building your first knowledge base by clicking on "New Knowledgebase"
3. Fields Description and Configuration Steps
1. Knowledgebase Name
- Description: The name of your knowledge base.
- Input: Enter a unique and descriptive name for easy identification.
- Example: "Customer Support FAQs" or "Product Manuals."
2. Document Processing
-
Options:
-
Standard: Default processing for typical use cases.
- Advanced: Allows to select othetr models for custom or complex processing (e.g., Image embedding models).
3. Embedding Model
- Description: Select the embedding model for generating vector embeddings.
- Default:
text-embedding-ada-002. - Note: This field is preconfigured and typically does not require changes.
4. Cleaning Configuration
-
Options (check the boxes as needed):
-
Remove Extra Space: Removes unnecessary spaces between words.
- Clean Non-ASCII Chars: Removes special characters outside the standard ASCII set.
- Remove Emails: Strips email addresses from the content.
- Group Broken Paragraphs: Combines fragmented paragraphs into cohesive text blocks.
- Replace Unicode Quotes: Replaces curly quotes with standard straight quotes.
- Recommendation: Enable options based on the type of documents being processed.
5. Chunking Configuration
-
Doc Processing Max Tokens
-
Description: The maximum number of tokens per chunk.
- Default: 1250 (per default for most use cases).
- Input: Adjust based on document size and model token limits.
-
Doc Processing Overlap Tokens
-
Description: Number of overlapping tokens between consecutive chunks to maintain context.
- Default: 10.
- Input: Adjust to balance context preservation and efficiency.
-
File As One Chunk
-
Description: Treats the entire document as a single chunk.
- Use Case: Enable for short documents or when chunking is unnecessary.
6. Chunk Text Function (Optional)
- Description: Add custom logic for text chunking in JavaScript or Python.
- Input: Enter or paste your custom function for advanced chunking needs.
- Example: A function to split content by specific delimiters (e.g., headings).

4. Once the configuration is saved you are redirected to the "Documents" page where you can start uploading your document(s).
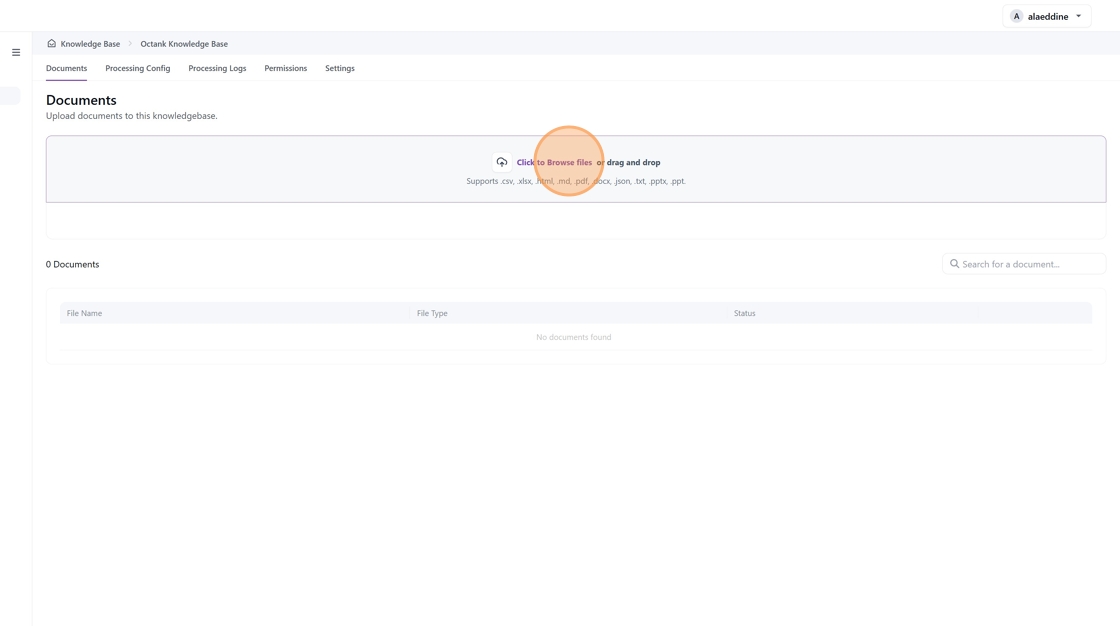
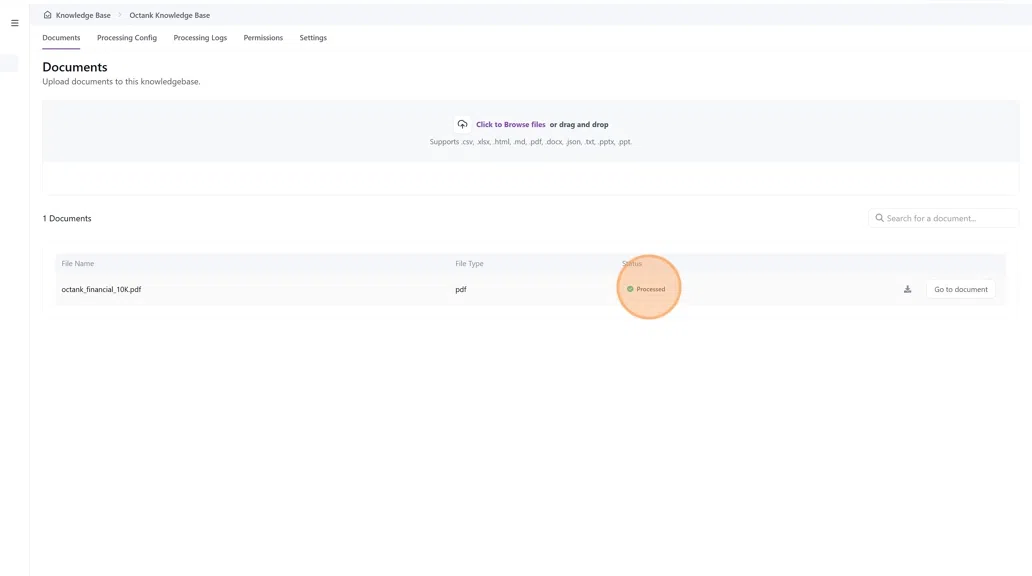
5. Any uploaded document will be listed on the page and assigned a status (in Processing or Processed). If a document is processed, you can click on "Go to document" to view the generated chunks.
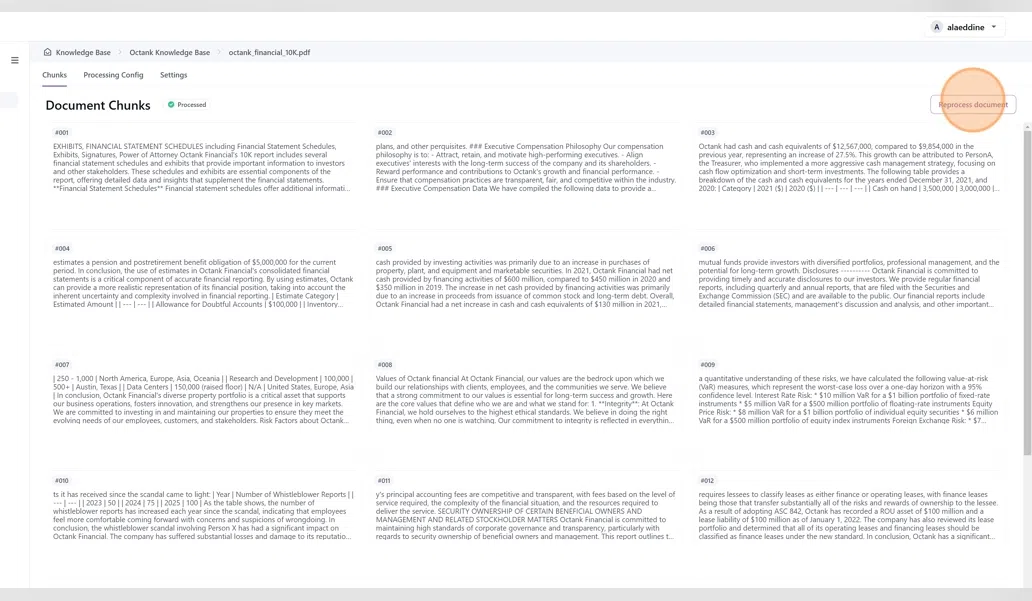
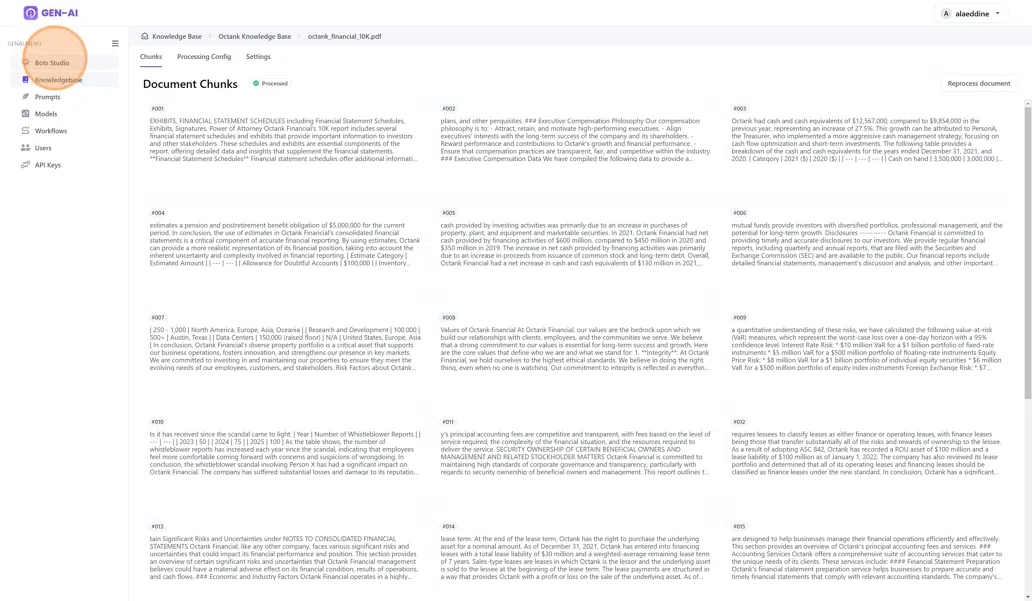
6. Document Chunks Page
The "Document Chunks" page displays the processed segments (chunks) of your document after being prepared for use in a knowledge base. Each chunk represents a portion of the document, split based on the token limits configured during document processing. Here's how to navigate and understand this page:
Page Features
1. Chunks List
- Each chunk is displayed in a numbered box (e.g., #001, #002).
- The content inside each box represents a processed portion of the document.
- Each chunk displays text from the document, cleaned and formatted according to the configurations (e.g., grouped paragraphs, removed extra spaces).
- Purpose: Chunks are created to ensure the document fits within the token limits of the selected embedding model while maintaining logical context.
2. Processed Status
- Indicates that the document has been successfully processed into chunks.
- Tip: If you need to adjust the processing settings, use the "Reprocess Document" button.
3. Reprocess Document
- Button Function: Allows you to reprocess the document if you want to modify chunking settings or cleaning configurations.
4. Processing Config
- Allows you to review the document processing configuration, similar to the one at the Knowledge base creation
- Once the configuration is reviewed , you can ago ahead and reprocess the document again
5. Settings:
- Allows to review the Knowledge Base title and delete the document if necessary
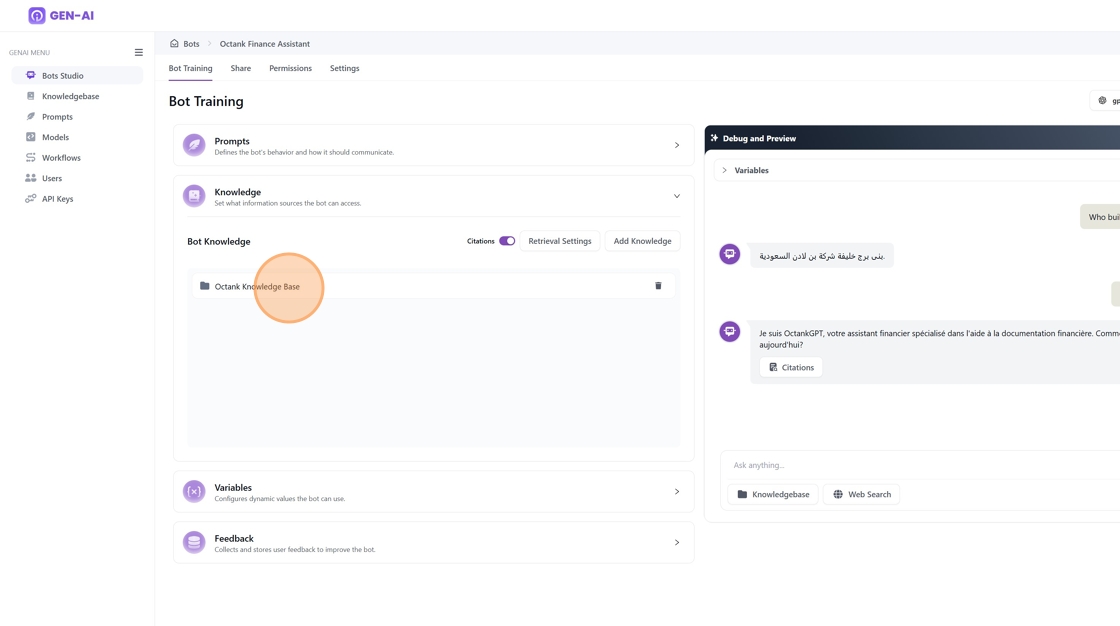
7. Great! Your knowledge base is now ready to be used by your bot. Follow these steps to integrate it:
- Navigate to Bot Studio from the menu on the left-hand side.
- Select your bot and click on Train Bot.
- Go to the Knowledge section.
- Click on Add Knowledge.
- A popup will appear displaying the list of pre-created knowledge bases. Use the search or scroll through the list to find your knowledge base, then select it and click Save.
8. "Octank Knowledge Base" is now included in the Bot configuration